Stepping into a shower only to be met with an icy blast of water is a jarring experience that no homeowner enjoys. It is a common household frustration that often occurs at the most inconvenient times, such as early in the morning or during a cold winter day. When there is no hot water in house, it disrupts your daily routine, from bathing to washing dishes and doing laundry.
The cause of this problem can range from a simple tripped circuit breaker to more complex issues like a failing heating element or a pilot light that has gone out. Understanding the mechanics of your water heating system is the first step toward a quick and effective solution. Fortunately, many of these issues can be diagnosed and even fixed without the immediate need for an expensive service call.
In this guide, we will walk you through a systematic approach to troubleshooting your water heater. We will cover gas and electric systems, tankless units, and common maintenance tasks that can prevent these issues from recurring. By following these clear steps, you can identify the source of the problem and decide whether it is a DIY fix or a job for a professional plumber.
Identifying the Source of the Problem
Checking Multiple Fixtures
The first step in troubleshooting is to determine if the lack of hot water is affecting the entire house or just one specific area. Go to different sinks and showers throughout your home and turn on the hot water tap. If you find that hot water is available in the kitchen but not in the master bathroom, the issue is likely related to a specific faucet or a localized pipe problem rather than the water heater itself.
If every fixture in the house is running cold, then the problem is definitely centralized at the water heater. This helps narrow down your search and prevents you from wasting time on the wrong components. For instance, a single cold shower might just need a new mixing valve, whereas a house-wide outage points to the main heating unit.
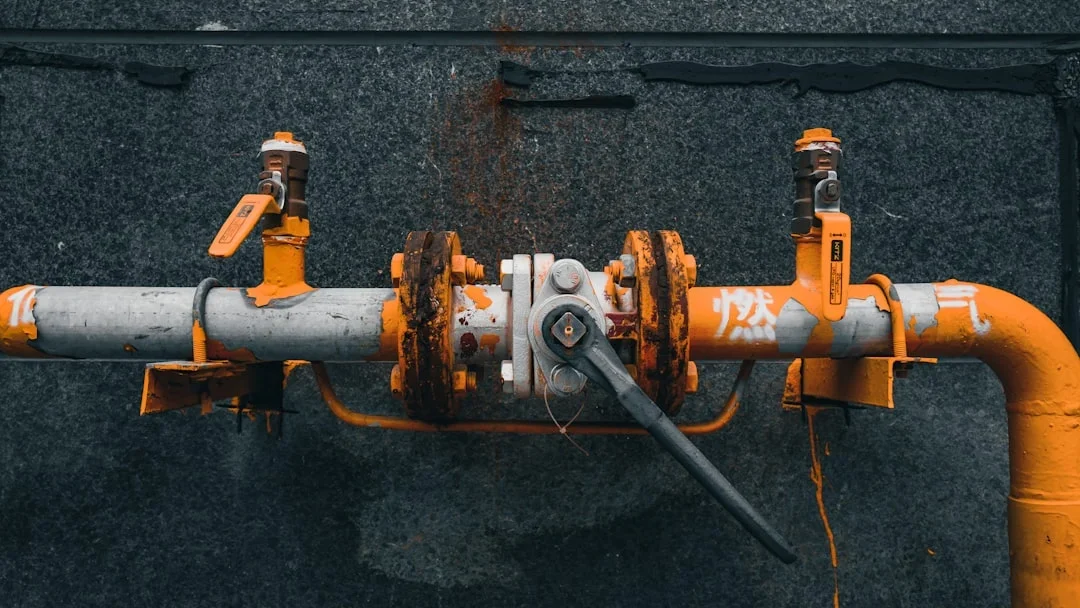
Inspecting for Visible Leaks
Walk over to your water heater and perform a visual inspection of the area around the base of the tank. Look for any puddles, damp spots, or signs of corrosion on the tank itself. A leaking tank is a serious issue that often indicates the internal lining has failed, which usually means the entire unit needs to be replaced immediately to avoid water damage.
Check the connections at the top of the water heater as well. Sometimes, a leak can start at the inlet or outlet pipes and drip down, making it look like the tank is failing when it is actually just a loose fitting. Tightening these connections or replacing a small section of pipe is much more affordable than replacing the whole heater.
Testing Water Pressure
Low water pressure combined with a lack of heat can indicate a blockage in the lines or a problem with the main water supply. If the water is barely trickling out of the hot side of the tap, there might be a shut-off valve that has been partially closed or a significant buildup of sediment inside the pipes.
Ensure that the cold water supply valve leading into the water heater is fully open. If this valve is restricted, the heater cannot push hot water out to the rest of the house. In some cases, a pressure reducing valve in your home plumbing system may have failed, affecting the flow of water to the heating unit.
Baca Juga: Water Heater Leaking From Bottom: Causes and Fixes 2026
Troubleshooting Gas Water Heaters
Relighting the Pilot Light
If you have a gas water heater, the most common reason for having no hot water in house is a pilot light that has gone out. Drafts, a sudden change in gas pressure, or a dirty burner can cause the flame to extinguish. Most modern gas heaters have a clear set of instructions printed on the side of the tank explaining how to safely relight the pilot.
Typically, you will need to turn the gas knob to the pilot position, press it down, and use the igniter button or a long lighter to spark the flame. Once the pilot is lit, continue holding the knob for about 60 seconds to allow the thermocouple to heat up. If the light goes out as soon as you release the knob, the thermocouple may be faulty and need replacement.
Checking the Gas Supply
Sometimes the issue is not the heater itself but the fuel source. Verify that the gas valve on the line leading to the heater is in the open position. If you have other gas appliances in your home, such as a stove or furnace, check if they are working correctly. If none of your gas appliances are functioning, there may be an issue with your local utility provider or a main shut-off valve.
For homes using propane tanks, check the fuel level on the tank gauge. It is easy to overlook a low fuel level, especially during periods of heavy use. If the tank is empty, you will need to schedule a delivery before your hot water can be restored.
Inspecting the Thermocouple
The thermocouple is a small safety device that senses the heat from the pilot light. If it does not detect a flame, it automatically shuts off the gas flow to prevent a dangerous buildup of unburned gas. Over time, these sensors can become covered in soot or simply wear out, leading to frequent pilot light failures.
If your pilot light won’t stay lit despite repeated attempts, the thermocouple is likely the culprit. This is a relatively inexpensive part that can be found at most hardware stores. Replacing it requires some basic tools and a steady hand, but it is a common fix for gas-powered systems.
Baca Juga: Expert 24 Hour Water Heater Repair Services 2026
Solving Electric Water Heater Problems
Checking the Breaker Box
Electric water heaters rely on high-voltage electricity to power their heating elements. If you experience a sudden loss of hot water, the first thing you should do is check your home’s electrical service panel. Look for a circuit breaker that has tripped to the middle or off position. Water heaters draw a lot of power, and a surge can easily trip the breaker.
If you find a tripped breaker, flip it all the way to the off position and then back to on. If the breaker trips again immediately, do not try to reset it a second time. This indicates a serious electrical fault, such as a short circuit or a grounded element, which requires professional attention to prevent a fire hazard.
Resetting the High Limit Switch
Most electric water heaters have a built-in safety device called a high-limit switch, often referred to as the reset button. This switch is designed to trip if the water temperature inside the tank gets dangerously high. You can usually find this button behind an access panel on the side of the heater, often located near the upper thermostat.
To reset it, turn off the power at the breaker first. Remove the access panel and push the red button. If you hear a click, the switch has been reset. If the switch continues to trip frequently, it could mean that the thermostat is failing or that the water is actually overheating due to a faulty heating element.
Testing Heating Elements
Electric heaters typically have two heating elements: one at the top and one at the bottom. If the upper element fails, you will have no hot water at all. If the lower element fails, you might have some hot water, but it will run out very quickly. These elements can burn out over time due to age or mineral buildup.
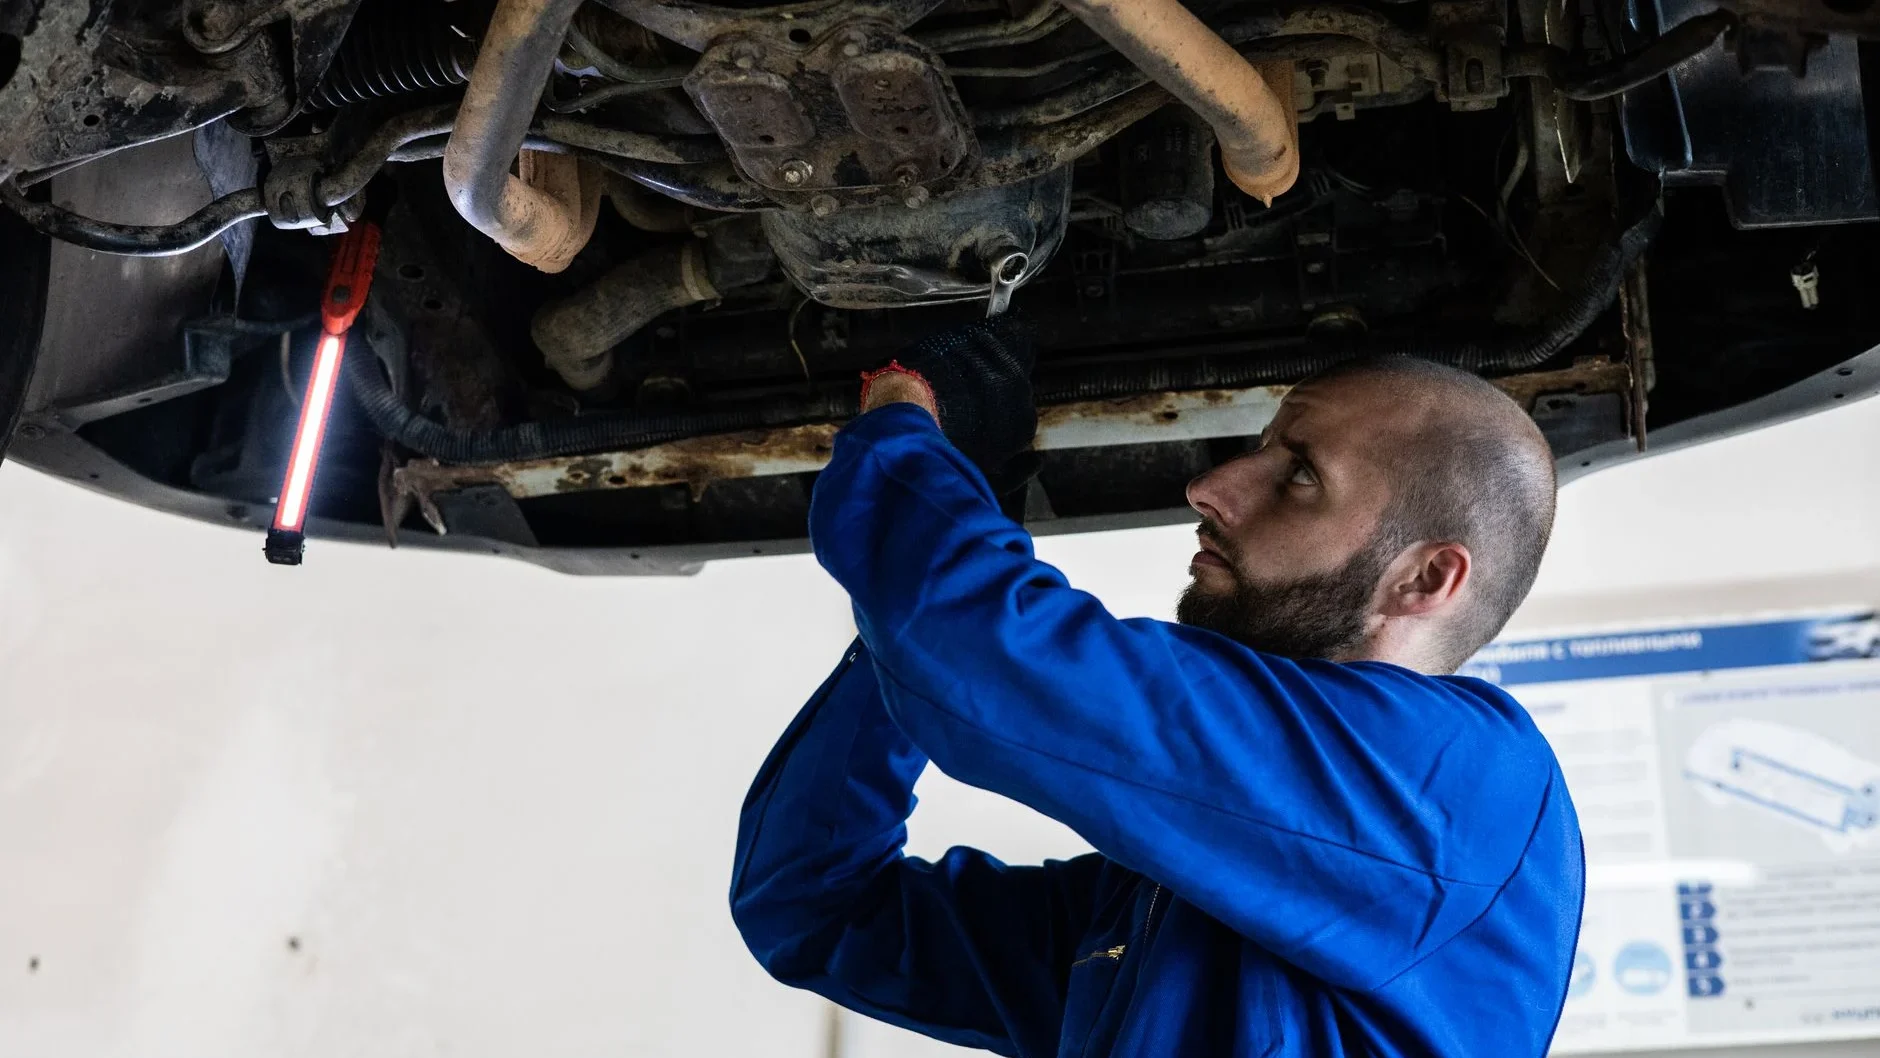
A plumber or a handy homeowner can test these elements using a multimeter to check for continuity. If an element shows no continuity, it is broken and must be replaced. This process involves draining the tank and unscrewing the old element, so ensure the power and water are turned off before beginning this task.
Baca Juga: Hot Water Tank Replacement Guide for 2026
Managing Thermostat and Temperature Settings
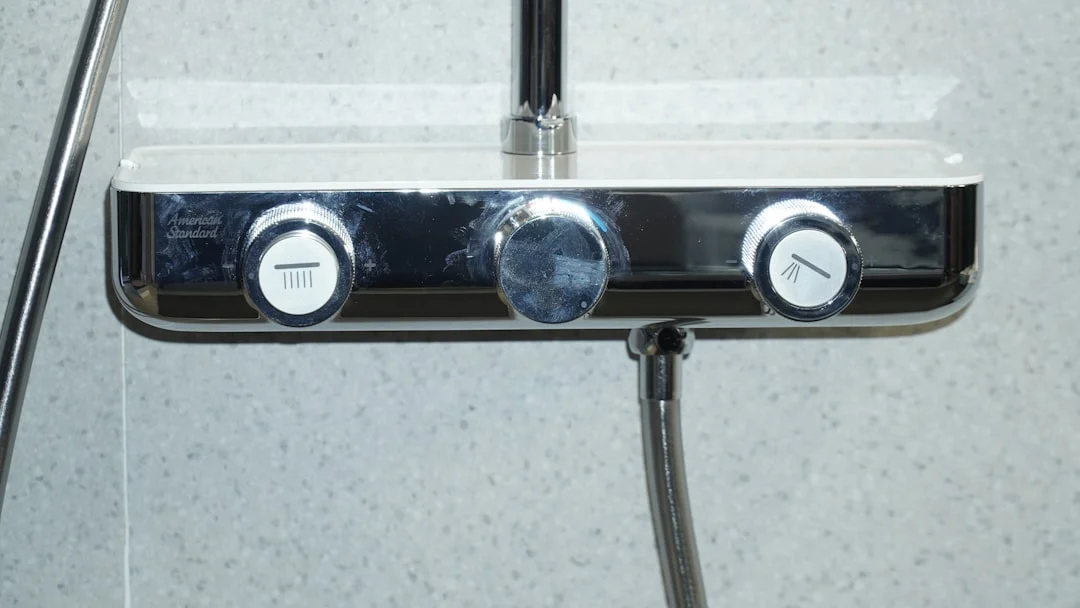
Adjusting the Temperature Dial
It sounds simple, but sometimes the thermostat dial on the water heater gets bumped or turned down by mistake. For gas heaters, the dial is usually located on the outside of the gas control valve. For electric heaters, the thermostats are hidden behind the access panels on the side of the tank. Ensure the setting is at the recommended temperature.
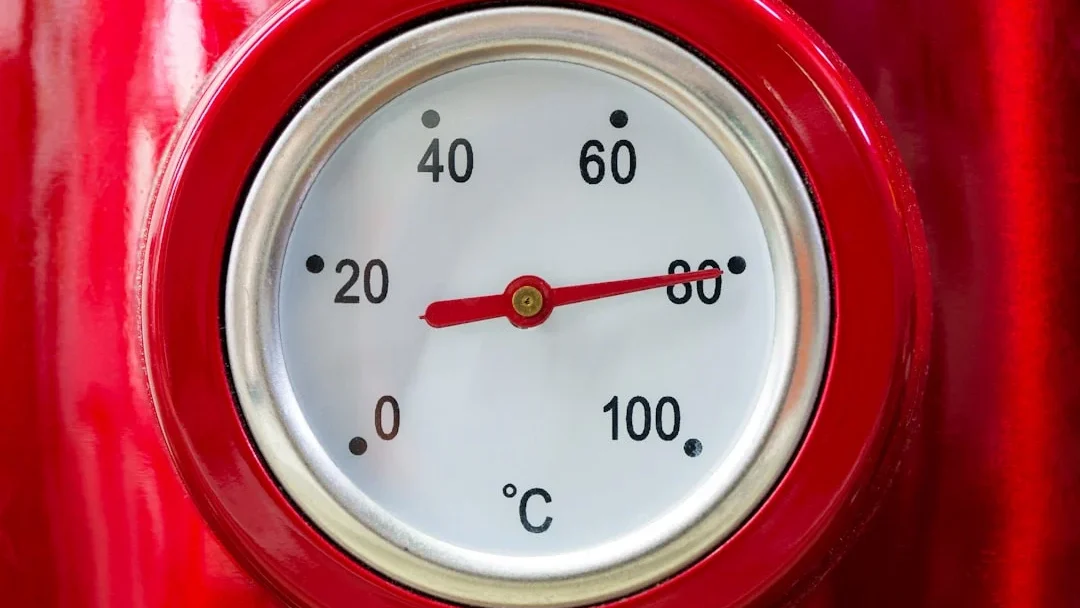
The standard recommendation for most households is 120 degrees Fahrenheit. This temperature is hot enough for most needs while being safe enough to prevent scalding. If the dial is set too low, the water will feel lukewarm rather than hot, especially during the colder months when the incoming water temperature is lower.
Identifying Faulty Thermostats
If your settings are correct but the water remains cold, the thermostat itself may have failed. In an electric heater, there are usually two thermostats that work in tandem. If the upper thermostat fails, it won’t signal the elements to turn on. In a gas heater, the thermostat is integrated into the gas control valve.
Signs of a bad thermostat include water that is inconsistently heated or water that is dangerously hot regardless of the setting. Replacing a thermostat in an electric unit is a straightforward task, but replacing the control valve on a gas unit is more complex and often requires a professional.
Seasonal Temperature Adjustments
During the winter, the water entering your home from the underground pipes is much colder than it is in the summer. This means your water heater has to work much harder to reach the desired temperature. If you notice a slight dip in performance during cold snaps, you might need to increase the thermostat setting by a few degrees.
Be careful not to set the temperature above 140 degrees, as this increases the risk of accidental burns, particularly for children and the elderly. Additionally, higher temperatures can accelerate the buildup of lime and scale inside your tank, shortening its overall lifespan.
Baca Juga: How to Flush a Water Heater: A Step-by-Step Guide 2026
Addressing Sediment and Mineral Buildup
Recognizing the Sounds of Sediment
If you hear popping, rumbling, or banging noises coming from your water heater, it is a clear sign of sediment buildup. Over time, minerals like calcium and magnesium settle at the bottom of the tank. This layer of sediment acts as an insulator, making it harder for the burner or element to heat the water efficiently.
This buildup can eventually lead to no hot water in house because the heater becomes so inefficient that it cannot keep up with demand. Furthermore, the sediment can trap moisture against the bottom of the tank, leading to premature corrosion and eventual tank failure. Regular maintenance is key to preventing this issue.
How to Flush the Tank
Flushing your water heater once a year is the best way to remove sediment. To do this, turn off the power or gas and the cold water supply. Attach a garden hose to the drain valve at the bottom of the tank and run the other end to a floor drain or outside. Open the drain valve and a hot water faucet elsewhere in the house to allow air in.
Let the water drain until it runs clear. If the water is very cloudy or contains large flakes of mineral, you may need to fill and drain the tank several times. Once finished, close the drain valve, turn the water supply back on, and wait for the tank to fill completely before turning the power or gas back on.
Preventing Future Buildup
If you live in an area with hard water, sediment will accumulate much faster. Installing a water softener for your home can significantly reduce the amount of mineral deposits that enter your water heater. This not only protects your heater but also extends the life of your dishwasher, washing machine, and plumbing fixtures.
Another preventive measure is to check the anode rod every few years. The anode rod is a sacrificial metal rod that attracts corrosive elements, preventing them from eating away at the tank walls. If the rod is completely dissolved, the tank will begin to rust, leading to cloudy water and eventual leaks.
Baca Juga: Best Affiliate Tracking Software for Merchants 2026
Troubleshooting Tankless Water Heater Systems
Addressing Power and Error Codes
Tankless water heaters, also known as on-demand heaters, are more complex than traditional tanks. Most units feature a digital display that provides error codes when something goes wrong. If you have no hot water, check the display first. The manual for your specific model will explain what the codes mean, such as an ignition failure or an air intake blockage.
Ensure the unit is plugged in and that the circuit breaker has not tripped. Since tankless units use high-powered burners or large electric elements, they are sensitive to power fluctuations. A simple reset of the unit, performed by turning it off and on again, can sometimes clear minor software glitches.
Cleaning the Intake Filter
Tankless heaters require a steady flow of air for combustion (in gas models) and a clear path for water. Most units have an intake filter that catches debris from the water line. If this filter becomes clogged, the unit will sense the reduced flow and may refuse to ignite as a safety precaution.
Locate the filter, which is usually found near the cold water inlet. Turn off the water, remove the filter, and rinse it under a tap to remove any sand or grit. Keeping this filter clean is an essential part of tankless maintenance that ensures the system can heat water instantly as designed.
Managing High Demand
One common “issue” with tankless heaters is not a mechanical failure but a capacity limit. While they provide endless hot water, they can only heat a certain amount of water at one time. If someone is running the dishwasher, the washing machine, and the shower simultaneously, the unit may struggle to provide hot water to all locations.
If you find the water is cold only when multiple appliances are running, you are likely exceeding the unit’s flow rate capacity. To fix this, try to stagger your hot water usage or consider installing a second unit if your household demand is consistently higher than what your current heater can handle.
Baca Juga: Affiliate Marketing vs Dropshipping: Best Guide for 2026
When to Call a Professional Plumber

Identifying Major Leaks
While some plumbing tasks are suitable for a weekend DIY project, others require professional expertise. If you see water spraying from a pipe or a large puddle forming rapidly under the tank, turn off the main water valve immediately and call a plumber. A major leak can cause thousands of dollars in property damage in a very short time.
Attempting to patch a leaking tank is usually a temporary and ineffective solution. A professional can assess whether the tank can be repaired or if a full replacement is necessary. They also have the tools to safely handle the heavy lifting and high-pressure connections involved in a new installation.
Dealing with Gas Smells
If you ever smell gas (a scent like rotten eggs) near your water heater, do not attempt to light the pilot or use any electronic devices. Leave the house immediately and call your gas company or the fire department from a safe distance. Gas leaks are extremely dangerous and can lead to explosions or carbon monoxide poisoning.
A professional plumber or gas technician can use specialized sensors to locate the leak and repair the connections. Never take risks with gas lines; it is always better to be safe and have a qualified expert handle any issues involving natural gas or propane systems.
Aging Water Heater Replacement
The average lifespan of a traditional tank water heater is 10 to 15 years. If your unit is approaching this age and you are frequently dealing with no hot water in house, it may be more cost-effective to replace it rather than continue paying for repairs. Newer models are much more energy-efficient and can save you money on your utility bills.
A plumber can help you choose the right size and type of heater for your home’s needs. Whether you want to stick with a traditional tank or upgrade to a high-efficiency tankless system, professional installation ensures that the unit is vented correctly and meets all local building codes for safety.
Baca Juga: The Ultimate Cost Per Action Marketing Guide 2026
Conclusion
Experiencing no hot water in house is a major inconvenience, but in many cases, the solution is simpler than it seems. By systematically checking the power source, pilot light, and thermostat settings, you can often identify the culprit without needing a professional right away. Remember that regular maintenance, such as flushing the tank and checking the anode rod, is the best way to prevent these cold surprises from happening in the future.
When troubleshooting, always prioritize safety. Turn off the electricity or gas before performing any internal inspections, and never ignore the smell of gas or signs of a major leak. If you are ever unsure about a repair, it is worth the investment to call a licensed plumber to ensure the job is done correctly and safely. Restoring your hot water not only brings back comfort but also protects the long-term health of your home’s plumbing system.
To keep your system running smoothly, consider these practical tips:
- Flush your water heater tank at least once a year to remove sediment.
- Keep the area around your water heater clear of clutter to allow for proper ventilation.
- Check the temperature setting once a season to ensure it is at a safe and efficient level.
- Test the Temperature and Pressure (T&P) Relief Valve annually to ensure it is not stuck.
- Insulate your hot water pipes to reduce heat loss as water travels to your faucets.
FAQ
For a standard 40 to 50-gallon tank, it typically takes about 30 to 45 minutes for a gas heater and 60 to 80 minutes for an electric heater to fully warm up a cold tank of water. If you have a tankless unit, the hot water should be available almost instantly, though it may take a few seconds to travel through the pipes to your faucet.
If hot water is available in some parts of the house but not others, the problem is likely a faulty shower mixing valve. This valve is responsible for blending hot and cold water. If the internal cartridge fails, it may block the hot water from entering the showerhead even if the water heater is working perfectly.
While not having hot water is mostly an inconvenience, it can be a health concern if you cannot properly sanitize dishes or wash your hands with warm water. However, the underlying cause, such as a gas leak or an electrical short, can be very dangerous. It is important to diagnose the cause quickly to ensure your home remains safe.
Generally, no. If the actual metal tank is leaking due to corrosion, it cannot be reliably repaired. Most patches will fail under the high pressure and heat cycles of the tank. If you find a leak in the tank itself, the best course of action is to replace the unit to avoid a catastrophic failure that could flood your home.
If you have hot water but it doesn't last long, you likely have a broken lower heating element (in electric models) or a significant amount of sediment buildup at the bottom of the tank. In some cases, the dip tube, which directs cold water to the bottom of the tank, may have broken, causing cold water to mix with the hot water at the top of the tank.