Waking up to a cold shower is a frustrating experience that often signals the end of your water heater’s lifespan. A reliable hot water supply is essential for daily tasks like bathing, cleaning, and cooking, making a functioning tank a top priority for any household. When your system begins to fail, understanding the process of hot water tank replacement becomes crucial to avoid property damage and unnecessary stress.
Replacing a water heater is more than just a simple swap; it involves selecting the right technology, ensuring safety compliance, and managing the installation correctly. Whether you are dealing with a sudden leak or planning an upgrade for better energy efficiency, being informed helps you make the best decision for your home and budget. This guide provides a systematic approach to navigating the replacement process in 2026.
Signs You Need a Hot Water Tank Replacement
Age of the Unit
Most traditional storage water heaters are designed to last between 8 and 12 years. If your unit is approaching or has exceeded a decade of service, it is wise to start planning for a replacement before a major failure occurs. Over time, the internal lining of the tank degrades, and the constant heating cycles weaken the metal structure.
You can check the age of your unit by looking at the manufacturer’s label for the serial number. Often, the first few digits represent the month and year of production. If you are unsure, a quick search of the brand and serial number online will usually provide the exact manufacturing date. Proactive replacement is often cheaper than dealing with an emergency water heater failure.
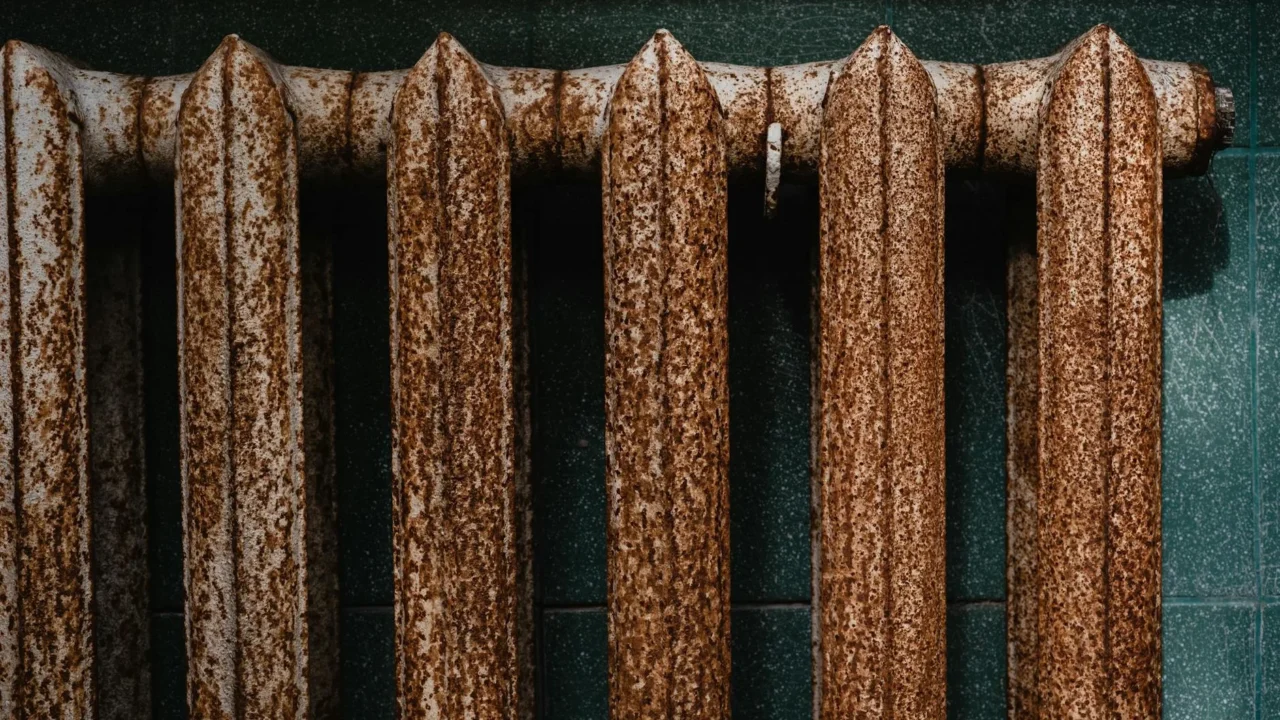
Rusty Water and Corrosion
If you notice reddish or brown-tinted water coming from your hot water taps, it is a strong indicator that the inside of your tank is rusting. Corrosion usually starts at the seams or the bottom of the tank where sediment collects. Once the metal begins to flake off into the water, the structural integrity of the tank is compromised, and a leak is likely imminent.
To confirm the source of the rust, run the cold water for a few minutes. If the cold water is clear but the hot water is discolored, the problem is definitely within the tank. In some cases, the sacrificial anode rod might be the only part that needs replacing, but if the tank walls are corroded, a full replacement is the only safe solution.
Unusual Noises
As water heaters age, sediment builds up at the bottom of the tank. When the burner or heating element activates, the sediment hardens and begins to move around, creating banging, popping, or rumbling sounds. These noises are not just annoying; they indicate that the unit is working harder than necessary to heat the water through a layer of sludge.
The extra strain caused by sediment buildup leads to metal fatigue and can eventually cause the tank to crack. While flushing the tank might help in the early stages, loud and persistent noises in an older unit usually mean the damage is already done. Replacing the unit will restore quiet operation and significantly improve heating speed.
Visible Leaks
A puddle of water around the base of your heater is the most obvious sign that something is wrong. While some leaks come from loose valves or connections that can be tightened, a leak from the tank itself is a terminal issue. Water expands when heated, and if there are microscopic cracks in the tank, they will eventually grow large enough to cause a flood.
Check the area around the temperature and pressure relief valve, as well as the inlet and outlet pipes. If the moisture is coming from the body of the tank, you must act quickly. A leaking tank can cause significant mold growth and structural damage to your home if left unaddressed for even a few days.
Baca Juga: Water Heater Leaking From Bottom: Causes and Fixes 2026
Choosing the Right Type of Water Heater

Conventional Storage Tanks
Traditional storage tanks remain the most common choice for many homeowners due to their lower upfront cost and familiar design. These units keep a large volume of water heated at all times, ensuring that hot water is ready as soon as you turn on the tap. They are available in various sizes, typically ranging from 30 to 80 gallons.
The main drawback of storage tanks is standby heat loss, as the unit must periodically reheat the water even when it is not being used. However, modern tanks feature improved insulation that minimizes this loss. They are an excellent option for households with high simultaneous water demand, such as running a dishwasher and a shower at the same time.
Tankless Water Heaters
Tankless units, also known as on-demand water heaters, do not store water. Instead, they use high-powered burners or electric elements to heat water as it flows through the unit. This design eliminates standby heat loss and provides an endless supply of hot water, which is perfect for large families who frequently run out of hot water.
While the initial purchase price and installation costs for tankless systems are higher, they offer significant long-term energy savings. They also take up much less space, as they are typically wall-mounted. However, they may require upgrades to your home’s gas lines or electrical panel to handle the high energy demand during operation.
Heat Pump Models
Heat pump water heaters, or hybrid units, work by pulling heat from the surrounding air and transferring it to the water in the tank. This technology is incredibly efficient, often using 60 percent less energy than standard electric heaters. They are best suited for locations that stay relatively warm year-round, such as a garage or an unconditioned basement.
Because they extract heat from the air, these units also provide a cooling and dehumidifying effect to the room they are in. They have a higher initial cost but often qualify for energy rebates and tax credits, making them a financially savvy choice for environmentally conscious homeowners looking to reduce their carbon footprint.
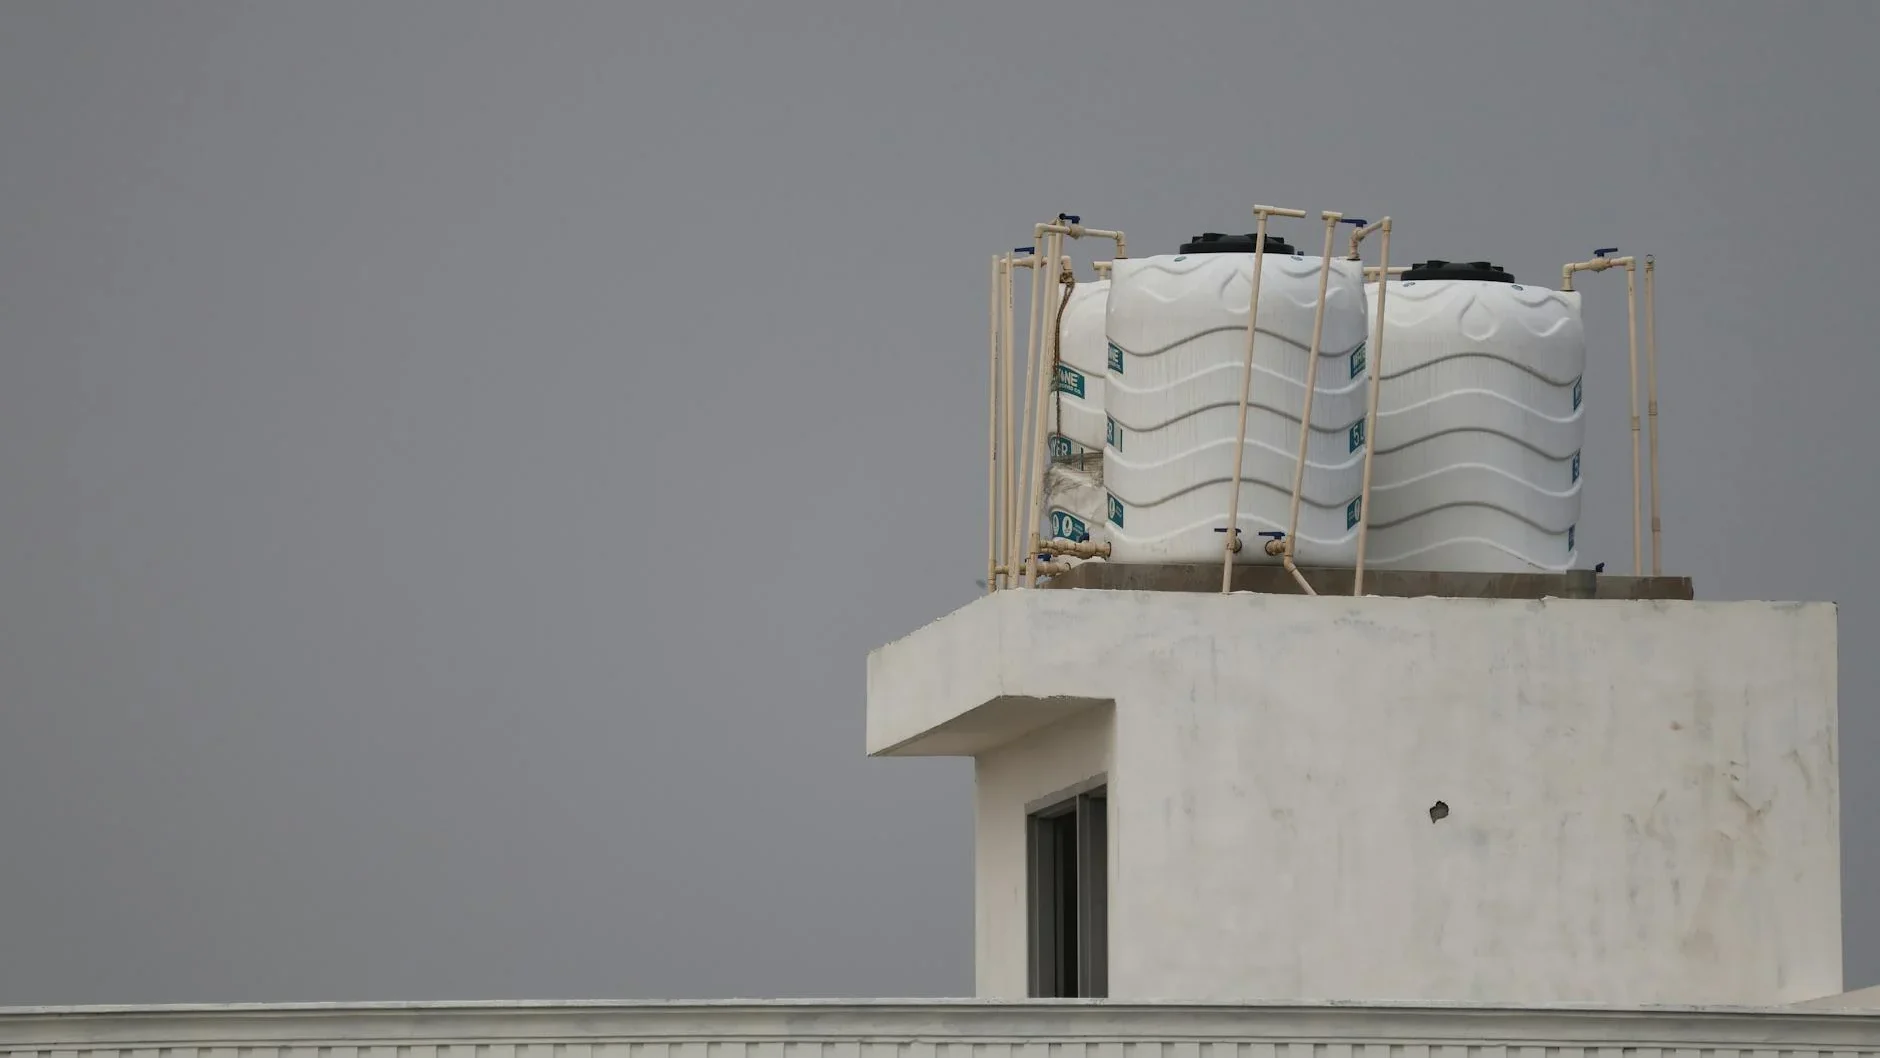
Solar Water Heaters
Solar water heaters use roof-mounted collectors to absorb energy from the sun, which is then used to heat the water. These systems usually include a backup storage tank to ensure you have hot water on cloudy days or during periods of high demand. They are the most eco-friendly option available and can virtually eliminate water heating costs in sunny climates.
The installation of a solar system is complex and requires a significant investment. However, the long-term savings are unparalleled. Before choosing this option, it is important to evaluate your roof’s sun exposure and local building codes. Many regions offer substantial incentives to offset the high cost of solar technology.
Baca Juga: How to Flush a Water Heater: A Step-by-Step Guide 2026
Understanding Fuel Sources for Your New Tank
Electric Water Heaters
Electric models are widely available and generally easier to install than gas units because they do not require venting. They use internal heating elements to warm the water. Many homeowners prefer electric units for their safety, as there is no risk of gas leaks or carbon monoxide exposure.
While the units themselves are often cheaper, electricity can be more expensive than natural gas in many regions, leading to higher monthly operating costs. If you are switching from gas to electric, you will need to ensure your electrical panel has a dedicated 240-volt circuit capable of handling the heater’s load.
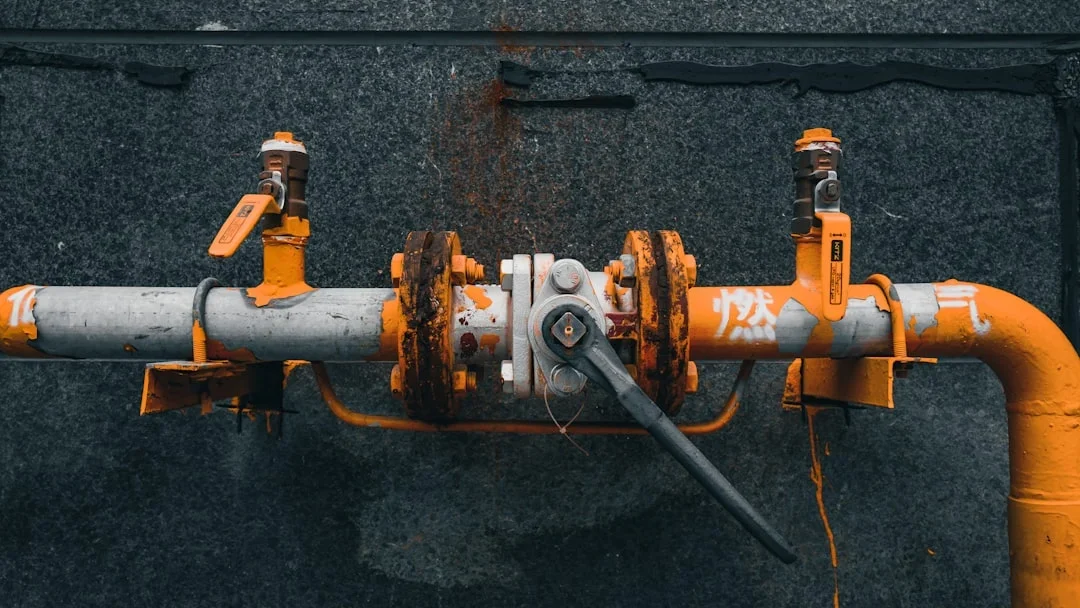
Gas-Powered Units
Natural gas water heaters are a popular choice because they typically have a faster recovery rate than electric models. This means they can heat a full tank of water more quickly after it has been emptied. They are also generally cheaper to operate over the long term, depending on local utility rates.
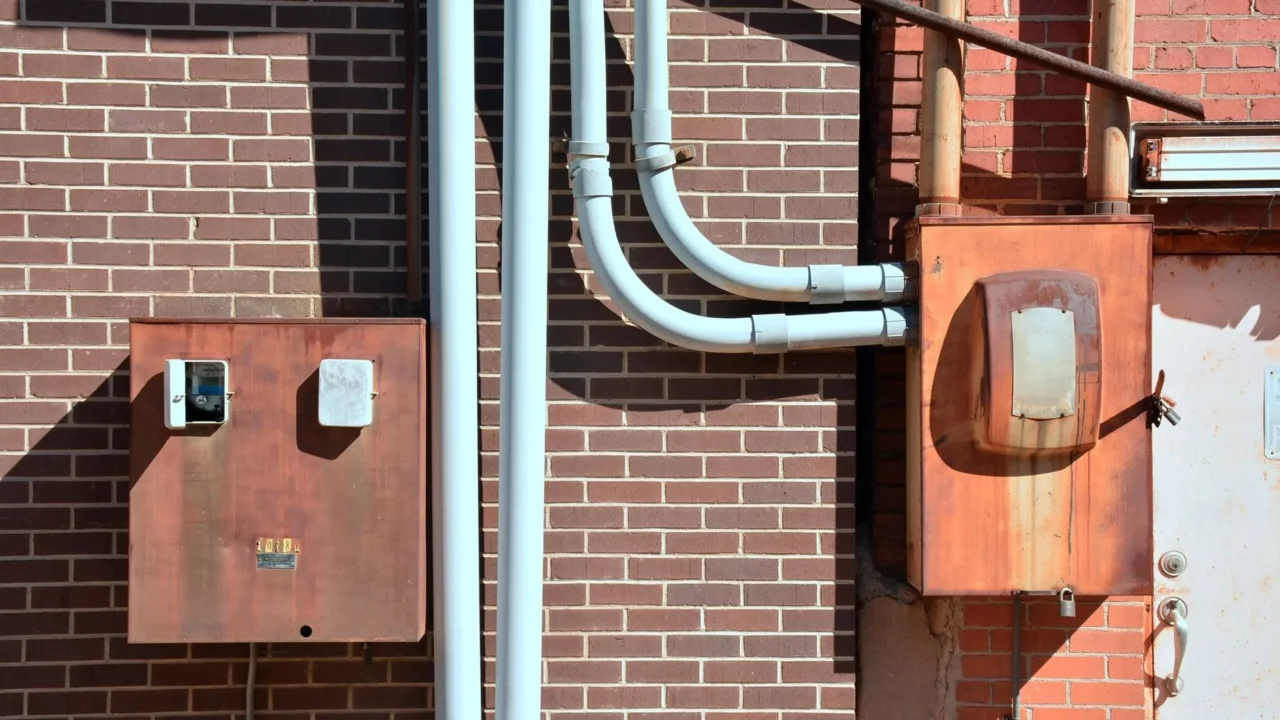
Gas units require a dedicated venting system to safely exhaust combustion gases outside the home. During a replacement, it is vital to inspect the existing vent pipes to ensure they meet current safety standards. If your home does not already have a gas line, the cost of installing one can be a significant addition to the total project budget.
Propane Options
For homes in rural areas without access to a natural gas grid, propane is a viable alternative. Propane water heaters function almost identically to natural gas models but require a storage tank on the property. They offer the same fast heating benefits and can be very efficient.
When choosing propane, you must factor in the cost of fuel delivery and tank rental. Many manufacturers offer kits to convert natural gas heaters to propane, but it is always safer to purchase a unit specifically designed for propane use. This ensures optimal performance and adherence to safety regulations.
Baca Juga: No Hot Water in House? Causes and Fixes for 2026
Cost Factors for Hot Water Tank Replacement

Unit Purchase Price
The cost of the water heater itself is the first major expense. Prices vary significantly based on the type, capacity, and energy efficiency rating. A standard electric storage tank might cost between $500 and $1,000, while a high-efficiency tankless or heat pump model can range from $1,500 to $3,000.
Investing in a unit with a longer warranty often pays off, as these models typically feature higher-quality components and better insulation. Always compare the EnergyGuide label on different models to estimate how much you will spend on utilities each year, as a cheaper unit might cost more in the long run.
Labor and Installation Fees
Professional installation is highly recommended to ensure the unit is safe and compliant with local codes. Labor costs usually range from $500 to $1,500, depending on the complexity of the job. Replacing a like-for-like unit is generally the most affordable option, while switching fuel sources or moving the unit’s location will increase the price.
Plumbers and HVAC technicians charge based on the time required and the materials used, such as new pipes, valves, and venting components. It is a good practice to get at least three quotes from licensed contractors to ensure you are getting a fair market rate for the work in your area.
Disposal of the Old Tank
Once the new unit is in place, the old, heavy tank must be removed and disposed of properly. Many professional installers include disposal in their quote, but some may charge an additional fee of $50 to $100. Because water heaters contain metal and sometimes hazardous insulation, they cannot simply be thrown in the trash.
Recycling centers often accept old water heaters, and some municipal waste programs offer special pickups for large appliances. If you are doing a DIY replacement, you will need to arrange transportation to a scrap yard or recycling facility. Proper disposal is essential for environmental protection and compliance with local waste laws.
Permit and Inspection Costs
In many jurisdictions, a plumbing permit is required for hot water tank replacement. These permits ensure that a city inspector reviews the work to verify it meets safety standards, particularly regarding gas connections and venting. Permit fees can range from $50 to $200 depending on your location.
While it may be tempting to skip the permit, doing so can cause issues when you try to sell your home or if you need to make an insurance claim related to the water heater. A professional plumber will usually handle the permit application process for you, ensuring that all legal requirements are met from the start.
Baca Juga: Expert 24 Hour Water Heater Repair Services 2026
Preparing for the Replacement Process

Measuring the Space
Before purchasing a new unit, you must accurately measure the dimensions of the area where the current heater is located. Modern water heaters often have thicker insulation than older models, meaning a new tank with the same gallon capacity might be wider or taller than your existing one.
Ensure there is enough clearance for maintenance and proper airflow. If you are switching to a tankless model, identify a suitable wall space that allows for easy access to gas, water, and venting. Taking photos and notes of the current setup will help the sales associate or plumber recommend the best fit for your home.
Checking Local Building Codes
Building codes are updated frequently to improve home safety. Your new installation may require upgrades that were not necessary when the old unit was installed. Common requirements include the addition of an expansion tank, specific types of venting materials, or an earthquake strap in seismic zones.
Researching these codes ahead of time prevents surprises during the installation process. If you hire a professional, they should be well-versed in the current regulations. If you are attempting a DIY installation, consult your local building department to ensure your plan is compliant and safe.
Shutting Off Utilities
Safety is the most important part of the preparation. Before any work begins, you must turn off the power supply at the circuit breaker for electric models or close the gas shut-off valve for gas models. Additionally, the cold water supply valve leading to the tank must be closed tightly.
Once the utilities are off, it is a good idea to inform everyone in the household that the water will be unavailable. Open a hot water tap elsewhere in the house to relieve pressure in the lines. Having a clear, dry workspace around the unit will make the actual replacement much smoother and safer for everyone involved.
Baca Juga: Best Affiliate Tracking Software for Merchants 2026
Step-by-Step Installation Overview
Draining the Old Tank
A full water heater is extremely heavy and impossible to move safely. To drain it, attach a standard garden hose to the drain valve at the bottom of the tank. Run the other end of the hose to a floor drain, a sump pump, or outside. Open the drain valve and a nearby hot water faucet to allow air into the system, which speeds up the process.
Be careful, as the water coming out may be scalding hot. If the drain valve is clogged with sediment, you may need to carefully poke a wire into the opening to get the flow started. Once the tank is completely empty, it will be light enough to be disconnected and moved out of the way.
Disconnecting Pipes and Power
With the tank empty, use a pipe wrench or channel locks to disconnect the cold water inlet and hot water outlet pipes. If the connections are soldered, you may need to cut the copper lines with a pipe cutter. For gas units, carefully disconnect the gas line and the vent hood at the top of the tank.
For electric models, you must disconnect the wiring from the junction box on top of the heater. Ensure the wires are capped or secured so they do not pose a hazard. Once all connections are severed, the old unit can be removed. This is a great time to clean the floor area and inspect for any signs of water damage or pests.
Positioning the New Unit
Carefully move the new water heater into position, ensuring it is level. You may need to use plastic shims to stabilize it on uneven concrete floors. If you are in an area prone to earthquakes, this is the stage where you would install the required strapping to secure the tank to the wall studs.
Orient the tank so that the controls and the drain valve are easily accessible for future maintenance. Ensure that the pipes on the wall align as closely as possible with the inlets on the new tank. If the new tank is a different height, you will need to adjust the plumbing lines accordingly using flexible connectors or new pipe sections.
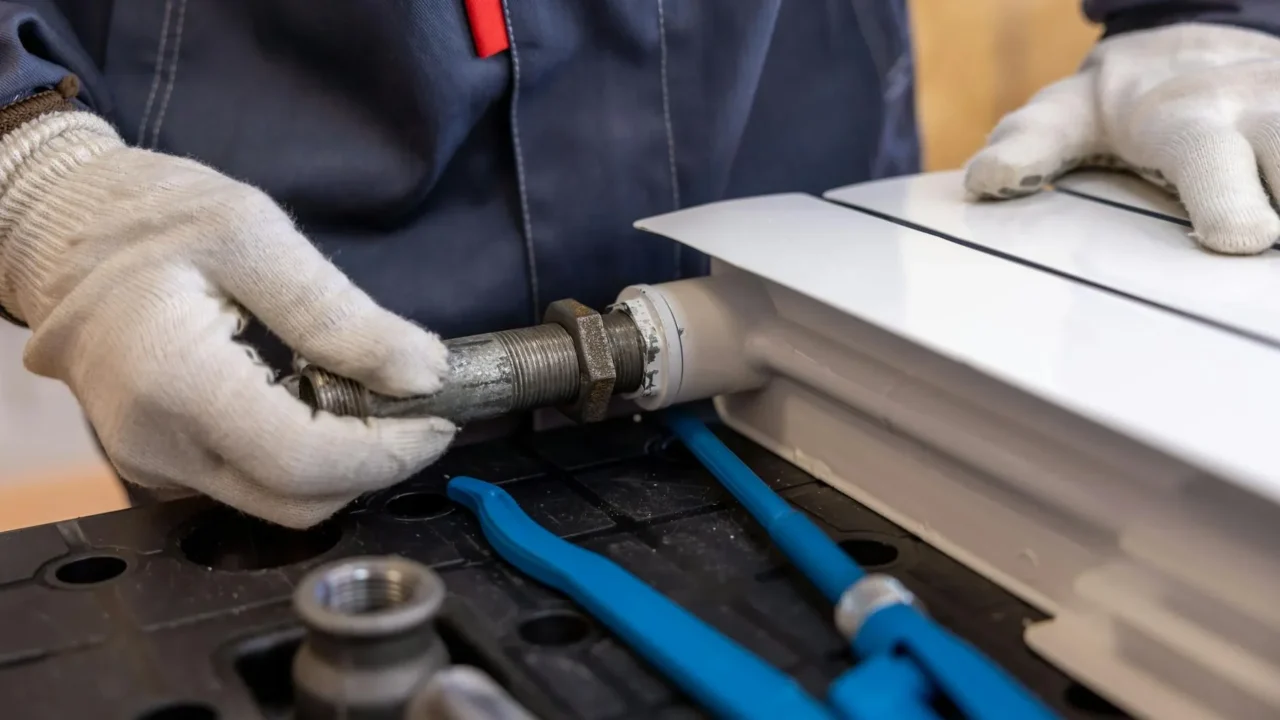
Making the New Connections
Start by connecting the water lines, using plumber’s tape or pipe dope on threaded joints to prevent leaks. Once the water lines are secure, install the temperature and pressure (T&P) relief valve and its discharge pipe, ensuring it points toward the floor. Slowly open the cold water supply valve to fill the tank.
It is critical to fill the tank completely before turning on the power or gas; firing a dry tank will destroy the heating elements or damage the tank. Once water flows steadily from a hot water tap in the house, you can reconnect the gas line and vent, or the electrical wiring. Finally, check all joints for leaks and test the unit’s operation.
Baca Juga: Affiliate Marketing vs Dropshipping: Best Guide for 2026
Post-Installation Maintenance Tips

Flushing the Tank Annually
To maximize the life of your new hot water tank replacement, you should flush it at least once a year. This process removes the sediment and mineral scale that naturally accumulates at the bottom. Regular flushing keeps the unit efficient and prevents the “knocking” sounds associated with sediment buildup.
The process is simple: turn off the heat source, attach a hose to the drain valve, and let the water run until it comes out clear. This small task can add years to the lifespan of your unit and ensure that your water remains clean and your energy bills stay low.
Checking the Anode Rod
The anode rod is a vital component that hangs inside the tank and “sacrifices” itself to prevent the tank walls from rusting. Over time, the rod corrodes away. You should inspect the anode rod every 2 to 3 years and replace it if more than six inches of the core wire is exposed or if it is covered in thick calcium deposits.
Replacing an anode rod is much cheaper than replacing the entire tank. Most rods are easily accessible through a hex head bolt on the top of the heater. Keeping a healthy anode rod in your tank is the single most effective way to prevent internal corrosion and extend the unit’s service life.
Testing the Pressure Relief Valve
The T&P valve is a safety device designed to open if the pressure or temperature inside the tank becomes dangerously high. To test it, simply lift the lever briefly and ensure that water discharges into the overflow pipe. It should snap back into place and stop the flow completely once you release the lever.
If the valve leaks after testing or fails to discharge water, it must be replaced immediately. A malfunctioning T&P valve can lead to a catastrophic tank failure. Performing this test once a year gives you peace of mind that your water heater’s primary safety mechanism is in good working order.
Baca Juga: The Ultimate Cost Per Action Marketing Guide 2026
Hiring a Professional vs. DIY

Benefits of Hiring a Plumber
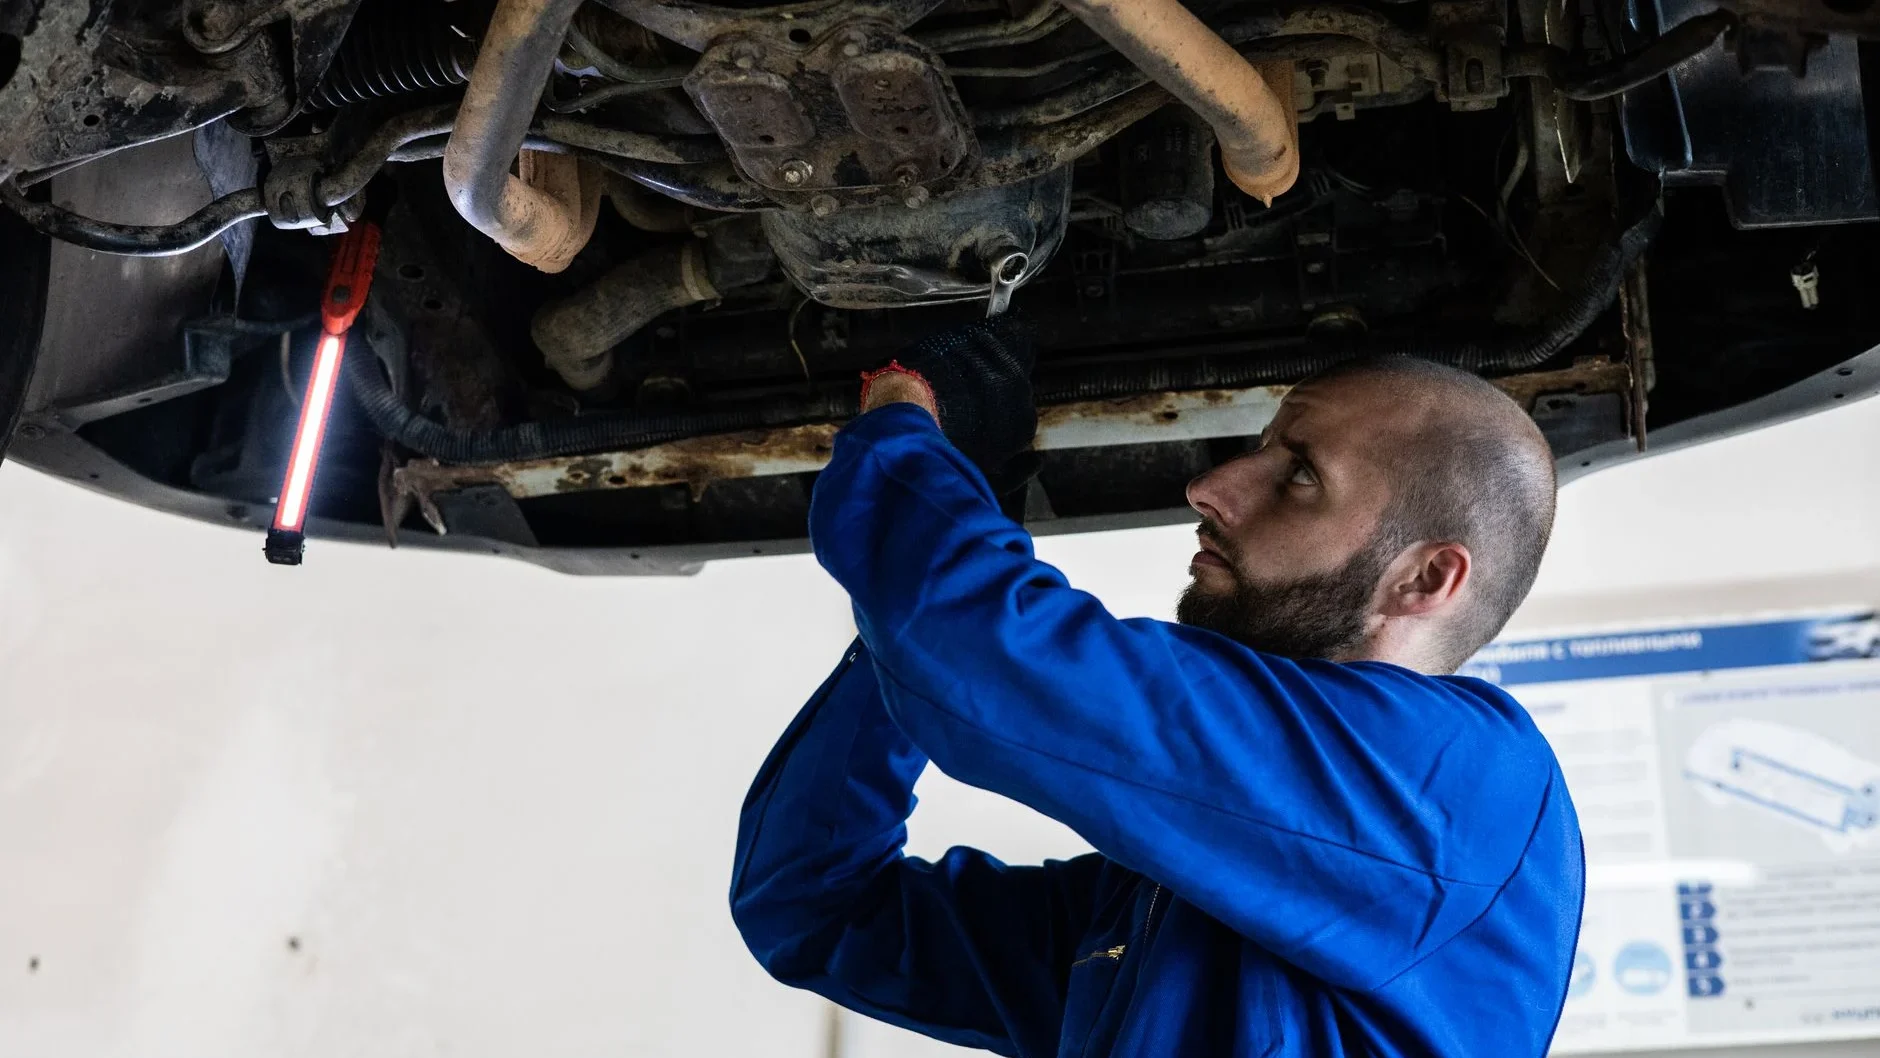
While some homeowners have the skills for a DIY replacement, hiring a licensed plumber offers several advantages. Professionals have the tools and experience to handle unexpected issues, such as corroded pipes or venting problems. They also ensure that the installation is fully compliant with local building codes and safety regulations.
Most plumbing companies provide a labor warranty on their work, giving you recourse if a leak or problem develops shortly after installation. Furthermore, professional installation is often a requirement to keep the manufacturer’s warranty valid. The speed and efficiency of a pro mean your hot water will be back on much sooner.
Risks of DIY Replacement
The primary risk of a DIY installation is safety. Working with natural gas, high-voltage electricity, and pressurized hot water can be dangerous without proper training. A small mistake in a gas connection can lead to a fire or carbon monoxide poisoning, while improper venting can cause toxic gases to back up into your living space.
Additionally, an improperly installed water heater can lead to significant water damage if a connection fails. Many insurance companies may deny claims for water damage if they discover the unit was not installed by a licensed professional or lacked the required permits. Weigh the potential savings against these significant risks before deciding to go it alone.
What to Look for in a Contractor
If you decide to hire a professional, it is important to choose the right one. Look for a contractor who is licensed, insured, and has positive reviews from previous customers. Ask for a written estimate that includes the cost of the unit, labor, materials, permits, and the disposal of your old tank.
Don’t be afraid to ask about their experience with the specific type of heater you want, especially if you are upgrading to a tankless or hybrid system. A reputable contractor will be happy to explain the process, provide references, and offer advice on which model best suits your family’s needs and your home’s infrastructure.
Baca Juga: Best High Paying Affiliate Programs in 2026
Conclusion
A hot water tank replacement is a significant but necessary investment in your home’s comfort and functionality. By recognizing the early warning signs of failure—such as age, rust, and leaks—you can plan a replacement on your own terms rather than waiting for an emergency. Choosing the right type of heater and fuel source for your specific needs will ensure you enjoy reliable hot water while managing your energy costs effectively.
Whether you choose to tackle the project yourself or hire a seasoned professional, following a systematic approach is key. Proper preparation, careful installation, and consistent post-installation maintenance will protect your investment for years to come. Remember to check for local rebates and tax incentives that can make high-efficiency models more affordable, helping you save money and reduce your environmental impact.
Ultimately, the goal of a successful replacement is peace of mind. With a new, efficient unit in place, you can enjoy those hot showers without worry. Keep this guide handy as you navigate the process, and don’t hesitate to consult with experts to ensure your home remains a safe and comfortable environment for your family.
FAQ
A standard like-for-like hot water tank replacement usually takes a professional plumber between 2 and 4 hours. This includes draining the old tank, removing it, installing the new one, and testing the connections. If you are switching from a tank to a tankless system or changing fuel sources, the process can take a full day or more due to the need for new piping and venting.
Yes, if you have experience with plumbing and electrical or gas work, you can perform a DIY replacement. However, it is a heavy and complex job that involves significant safety risks. You must ensure you follow all local building codes and obtain the necessary permits. If you are uncomfortable working with gas lines or high-voltage electricity, it is much safer to hire a licensed professional.
If your water heater is less than 8 years old and has a minor issue like a broken heating element or a faulty thermostat, a repair is usually the best option. However, if the tank itself is leaking, or if the unit is over 10 years old and requiring frequent repairs, a full replacement is more cost-effective in the long run. The cost of multiple repairs can quickly exceed the price of a new, more efficient unit.
Heat pump (hybrid) water heaters are currently considered the most energy-efficient options for most homes, as they move heat rather than generating it. Tankless water heaters are also highly efficient because they eliminate standby heat loss. Solar water heaters are the most efficient in terms of energy consumption but have the highest installation complexity and upfront cost.